How to Get UPVC and CPVC Pipe Installation Right: A Plumber’s Do’s and Don’ts Guide
Introduction
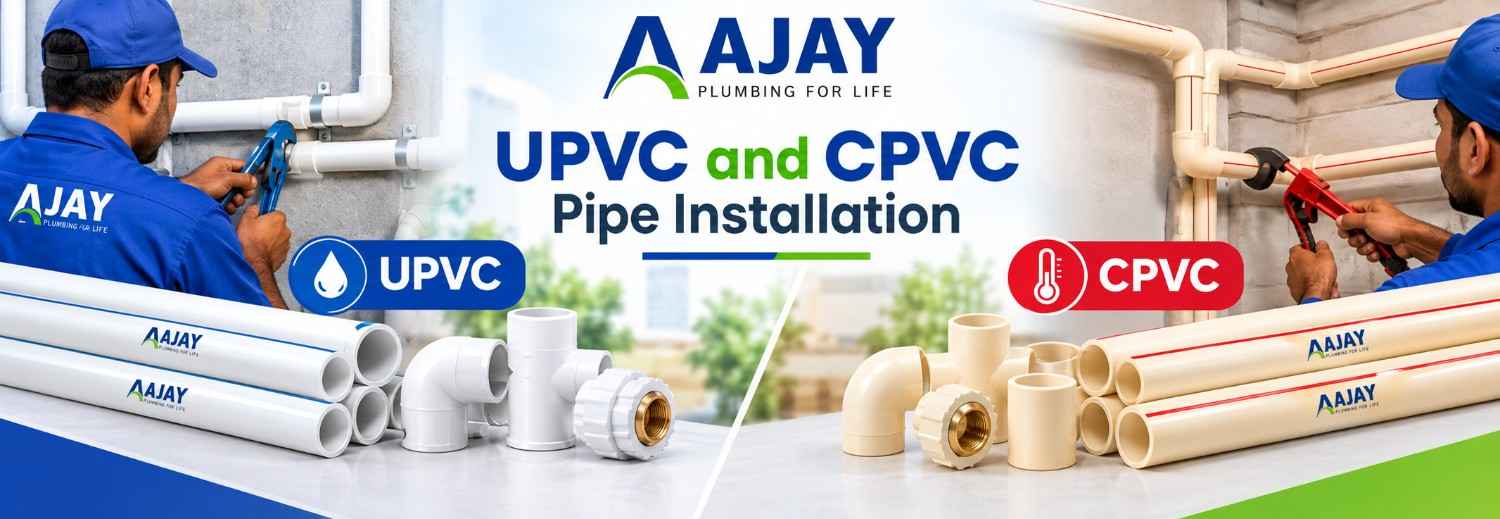
Plumbing leaks often begin with installation mistakes, not defective pipes. . They start with a rushed joint. Good UPVC and CPVC pipe installation comes down to four habits: a square cut, a clean chamfer, the right solvent cement, and proper clamping. This guide gives you a plain checklist you can follow on site. It covers how to install UPVC pipes for cold water lines and how to handle CPVC pipe installation for hot water lines. We use Ajay Greenline UPVC pipes, Ajay Flowline Plus CPVC pipes, and Ajay solvent cement as the working examples.
What Should You Check Before UPVC Pipe Installation or CPVC Pipe Installation?
Choosing the right pipe for the job is the first step to proper installation. . Ajay Greenline UPVC pipes suit cold water plumbing with a maximum service temperature of 60°C. Ajay Flowline Plus CPVC pipes handle hot and cold water up to 93°C. Fitting a UPVC pipe on a hot water line is one of the most common site mistakes, so check the temperature first.
Do:
- Keep a ratchet cutter or fine-tooth saw, a mitre box, a chamfering tool, a clean cotton cloth, a marker, and clamps ready.
- Use Ajay solvent cement made for the pipe material. Greenline uses cement to ASTM D 2564, and Flowline Plus uses cement to ASTM F 493.
- Check the cement before use. Thick or lumpy cement has aged and will not bond well.
Don’t:
- Mix cement brands or use a cement meant for another pipe material.
- Store cement in direct sun or leave the can open between joints.
Also confirm sizes against your drawing. Our PVC pipe sizes guide helps you match diameters and pressure classes before you cut anything.
How Should You Cut UPVC and CPVC Pipes?
A crooked cut leaves a gap inside the socket, and that gap becomes a leak path later.
Do:
- Measure twice and mark the full circumference with a marker.
- Cut at a right angle using a mitre box or a ratchet cutter.
- Account for the depth of the socket when you measure each pipe run.
Don’t:
- Use a coarse hacksaw blade that tears the pipe wall.
- Force a pipe with a hairline crack into a fitting. Cut the damaged section off.
- Cut in a hurry on a hot, dusty site without wiping the pipe afterwards.
How Do You Chamfer and Clean the Pipe End?
Chamfering is the step many installers skip, and it matters. A square, sharp pipe end scrapes the cement off the socket wall as you push the pipe in. That leaves the joint dry at the entry point.
Do:
- Remove burrs from the inside and outside edge after every cut.
- Cut a light chamfer at roughly 10 to 15 degrees on the outer edge.
- Wipe the pipe end and the socket with a clean, dry cloth to remove dust and moisture.
- Dry fit the joint first. The pipe should slide in about one-third to two-thirds of the socket depth by hand.
Don’t:
- Over-chamfer and thin the pipe wall.
- Touch the cleaned surface with oily or wet hands.
- Skip the dry fit. It shows you the correct insertion depth before the cement goes on.
How Do You Apply Solvent Cement and What Is the Right Cure Time?
Solvent cement does not work like glue. It softens the surfaces and fuses the pipe and fitting into one piece. That is why cleanliness and speed matter.
Do:
- Apply primer first where your system calls for it. Ajay recommends purple primer on Greenline sizes above 2 inch.
- Brush an even coat of cement on the pipe end, then a thinner coat inside the socket.
- Push the pipe in fully with a quarter turn, then hold it for about 30 seconds so it does not push back out.
- Wipe the excess cement bead off with a cloth straight away.
- Work in a ventilated area and keep cement away from flames.
Don’t:
- Let the cement skin over before you assemble the joint. Apply a fresh coat if it dries.
- Flood small CPVC sockets with cement. Excess cement can pool inside the pipe and weaken the wall.
- Move, bend, or clamp-stress a joint straight after assembly.
What about cure time? Cure time depends on pipe size, air temperature, and humidity. Cold and damp weather slows curing, and larger pipes need longer. As a working rule, many plumbers wait about 24 hours before pressure testing. Always follow the cure chart printed on your Ajay solvent cement can, and treat it as the final word.
How Far Apart Should You Space Pipe Supports?
Poor support causes sagging, joint stress, and noise. CPVC softens as water temperature rises, so hot lines need closer support than cold lines.
Do:
- Use clamps at every change of direction, near valves, and near fittings.
- Place clamps at roughly 0.9 to 1.2 metres on small sizes, and closer on hot water runs. Confirm the exact figure for each size in the Ajay installation chart.
- Add expansion loops or offsets on long hot water runs, because CPVC expands as it heats.
- Support heavy valves separately so their weight never hangs on the pipe.
Don’t:
- Tighten clamps so hard that the pipe cannot slide as it expands.
- Use sharp-edged metal clamps that cut into the pipe surface.
- Apply petroleum-based thread sealants or paste. Use PTFE tape on threaded joints instead.
- Heat the pipe with a flame to bend it. Use the correct bends and fittings.
How Do You Pressure Test the Line?
A test catches a bad joint while the wall is still open and the repair is cheap.
Do:
- Wait for the full cure time before you test.
- Fill the line slowly with water and bleed out all trapped air.
- Raise the pressure to the level your project specification requires, hold it, and inspect every joint.
Don’t:
- Test with compressed air or gas. Ajay Greenline pipes are not designed for either.
- Close the wall or pour screed before the test passes.
Conclusion
Clean cuts, light chamfers, fresh solvent cement, honest cure time, and well-spaced clamps prevent almost every callback. Follow these do’s and don’ts on every job, and your UPVC pipe installation and CPVC pipe installation work will last for years. For product details, standards, and technical support, explore the Ajay Pipes range or review the relevant standards on the BIS website and the ASTM website.
FAQs
Cut the pipe square, remove burrs, chamfer the outer edge, and dry fit the joint. Then apply solvent cement to the pipe and socket, push the pipe in with a quarter turn, hold it briefly, and wipe off the excess cement. Let the joint cure fully before testing.
Cure time depends on pipe size, temperature, and humidity. Many plumbers wait about 24 hours, and longer in cold or damp weather. Follow the cure chart on your Ajay solvent cement can.
A chamfer stops the pipe edge from scraping cement off the socket wall during assembly. It gives a more even bond and lowers the risk of leaks.
No. Ajay Greenline UPVC pipes suit cold water up to 60°C. For hot and cold water, use CPVC pipes such as Ajay Flowline Plus, which handle temperatures up to 93°C.
Small-diameter pipes typically need clamps roughly 0.9 to 1.2 metres apart, with closer spacing on hot water lines. Check the Ajay installation chart for the exact spacing for each size.